
はじめに
Windows10端末にPython3の開発環境を構築します。
私の場合はPython3の開発環境を構築した後、Pycharmを使って開発を進めていきたいので、まだPycharmを使った事がない方はこの際試してみるのもいいかと思います。
AnacondaをWindows10にインストール
Windows10端末にPython環境を構築する場合、Pythonホームページ( https://www.python.org/ )からインストーラをダウンロードする方法もありますが、様々なライブラリーとPython3を含めているAnacondaをお勧めします。
AnacondaのWebサイト( https://www.anaconda.com/ )にアクセスし、「Download」をクリックします。

「Windows」をクリックし、64bit のリンクをクリックします。
※ご自分の端末のOSに合わせて選択してください。
リンクをクリックしたらダウンロードが始まりますが、容量が約660MBもありますので少し時間がかかるかと思います。
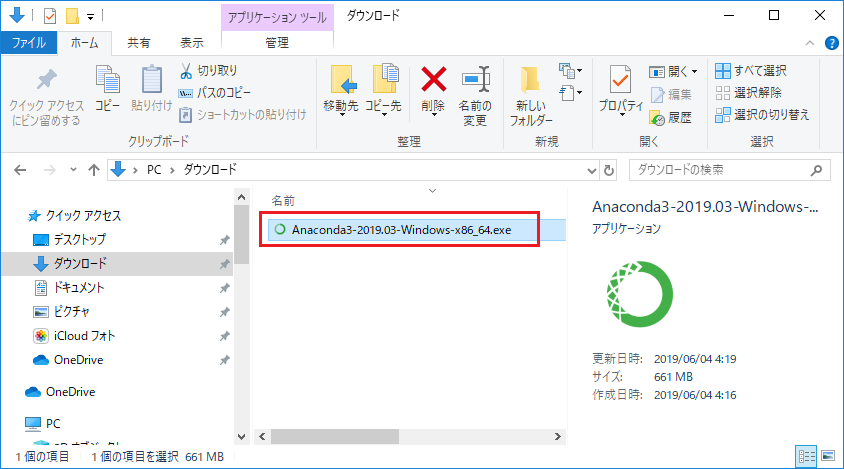
ダウンロードが完了したらAnacondaのEXEファイル( Anaconda3-2019.03-Windows-x86_64.exe )を実行します。
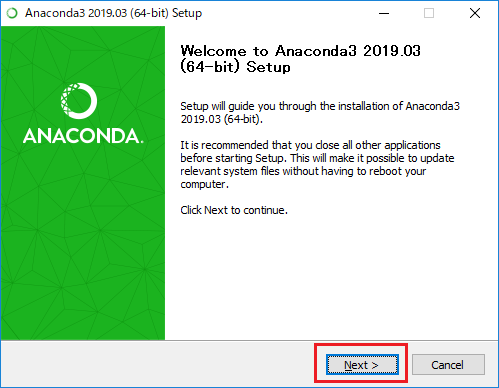
「Next」をクリックします。
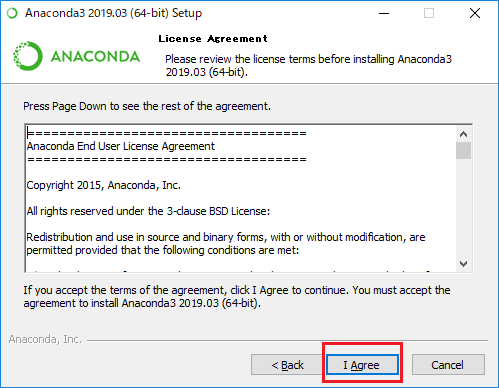
「I Agree」をクリックします。
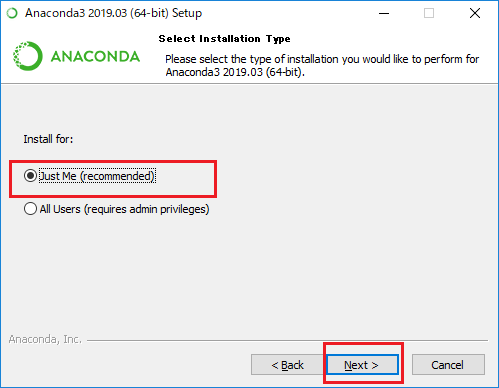
「Just Me(recommended)」を選択し、「Next」をクリックします。
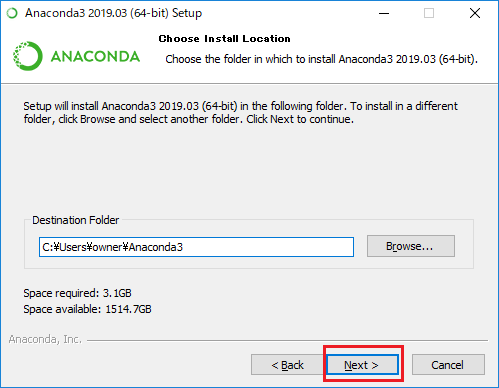
「Next」をクリックします。
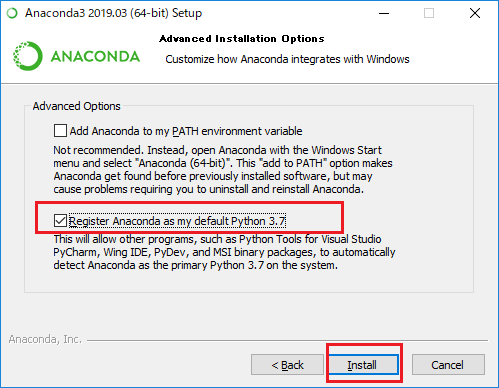
下のチェックボックスを選択し、「Install」をクリックします。
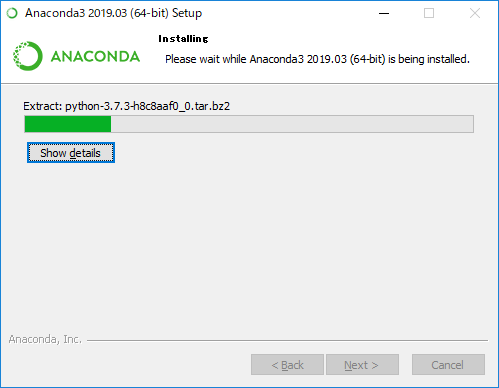
少し時間がかかるので、紅茶でも飲みながら気長に待ちます。
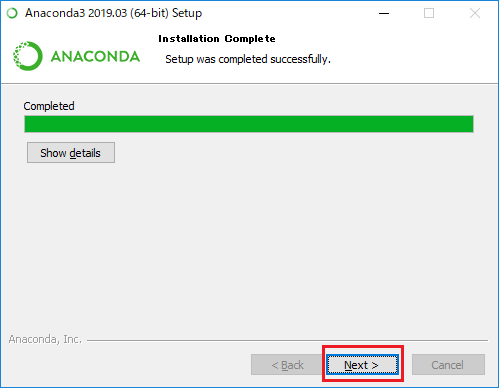
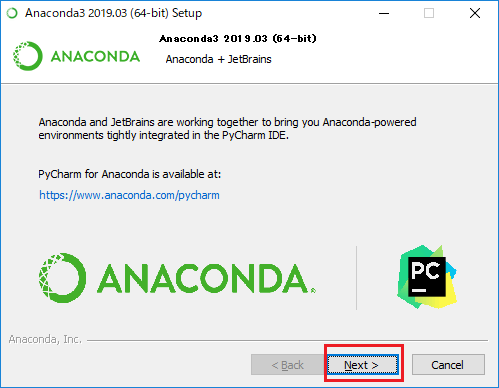
インストールが完了したら「Next」をクリックします。
「Next」をクリックします。
「Finish」をクリックします。
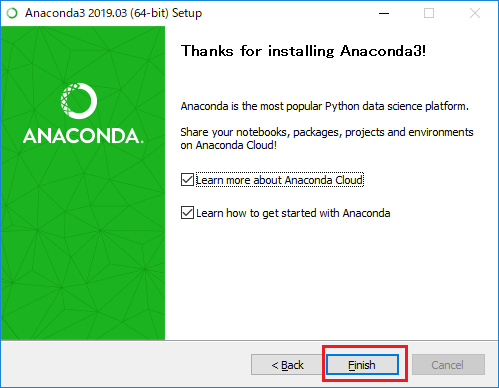
「Finish」をクリックするとブラウザが起動しAnacondaのWebサイトが表示されますが、不要であれば閉じてください。

AnacondaでPython3の動作確認
Anacondaのインストールが完了したら、次はPython3の動作確認を行います。
Windowsロゴ > Anaconda3(64bit) > Anaconda Prompt をクリックします。
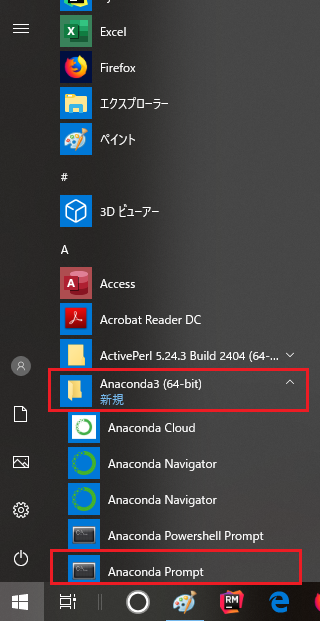
Anaconda Promptが起動しますので「python」と入力し、Enterを押下します。
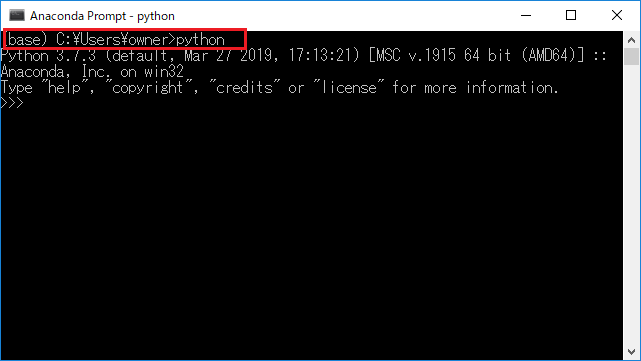
上記のように対話型シェルが起動すれば、Python3の開発環境は構築完了です。
色々なPythonコマンドを試してみて、簡単なスクリプトから初めて頂ければと思います。
因みに対話型シェルを終了する場合は「exit()」と入力し、Enterを押下します。

対話型シェルが終了しますので、そのままコマンドプロンプト画面も閉じてください。
まとめ
開発環境を構築する手順は意外と忘れてしまいます。
今回も自分用の備忘録として残していますが、開発環境は一度構築したらそこからコーディングに入ってガリガリ書いて動作確認して。。と気づけば数カ月や1年ぐらいは経ちます。
ですので、同端末上で再度開発環境を構築する機会は少ないため、ある日会社の別端末で開発環境を用意する際、思い出すのに精神的疲労度があります。
今回は単純なインストール作業なので問題ないレベルですが、念のため残しておくと気が楽です(笑)。
あと、IDEは個人的にはPycharmがオススメです。
ご参考になれば幸いです。

コメント