はじめに
VirtualBoxをインストールすれば、Windows10のPC上に様々なOSを起動させることができます。
非常に便利ですよね。
今回は、2021年10月5日に発売されたWindows11の使い勝手等を検証するために、Windows10にVirtualBoxをインストールしたいと思います。
VirtualBoxのインストール自体はとても簡単で、5分ほどで終わるかと思います。
とりあえず、検証環境の構築!ということですね。
因みに、VirtualBoxにWindows11をインストールする際は、ライセンスキーの確認画面が表示されます。
ライセンスキーをお持ちの方はキーを入力しましょう。
検証用であれば別途Windows Insider Programも検討するのも良いかと思います。
でわ、サクッと作業していきましょう。
VirtualBox6.1.34と拡張パッケージをダウンロード
まずは、今回使用するVirtualBox6.1.34と拡張パッケージを、公式サイトからダウンロードします。
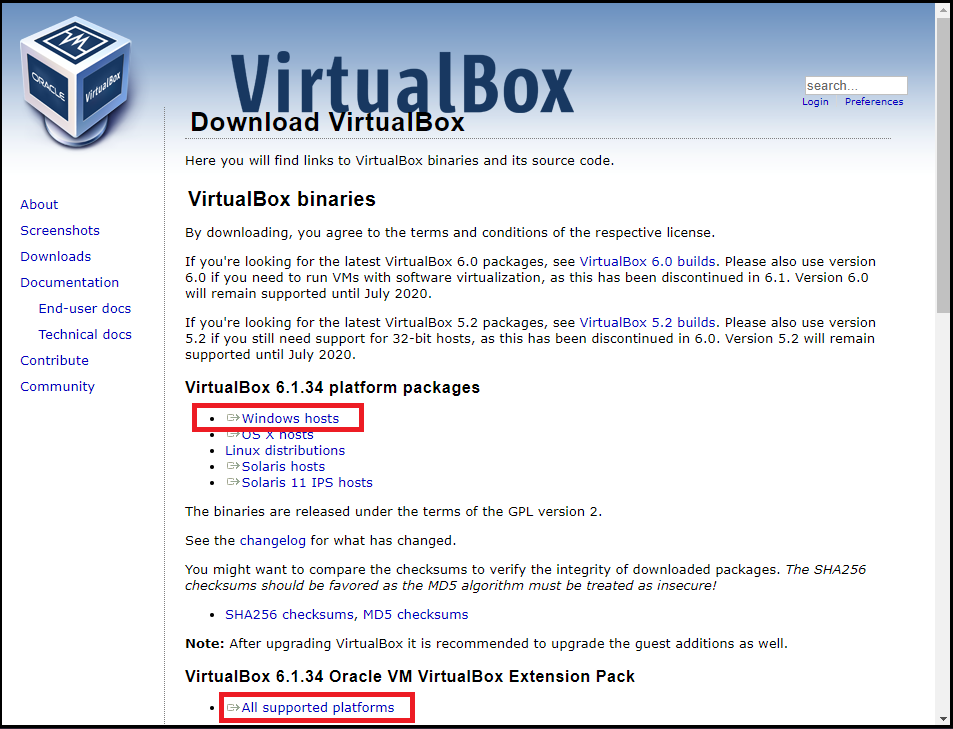
1.公式サイト( https://www.virtualbox.org/wiki/Downloads )にアクセスします。
2.下図の赤枠で囲った「Windows hosts」と「All supported platforms」をクリックし、ダウンロードします。
ダウンロードできました。
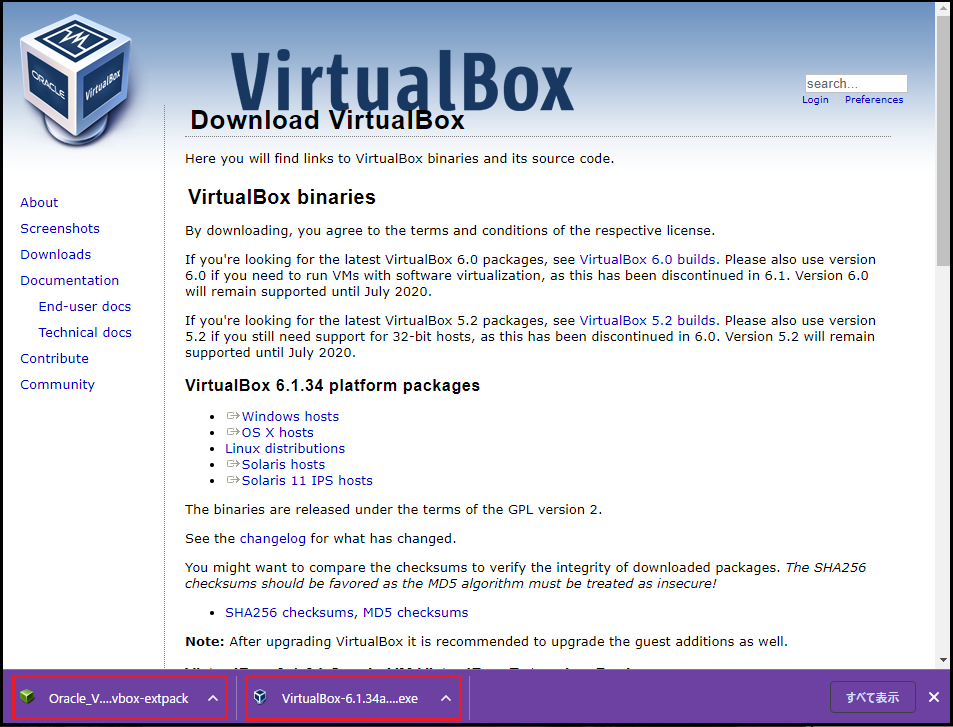
続いて、VirtualBox6.1.34をWindows10にインストールしたいと思います。
VirtualBox6.1.34をWindows10にインストール
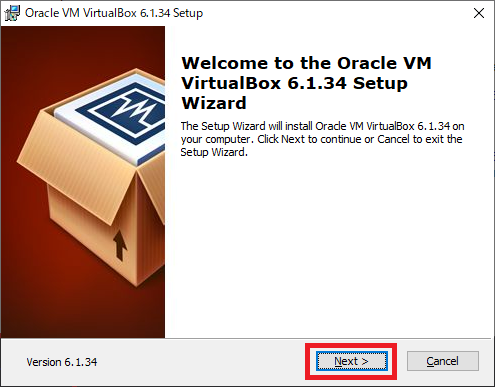
1.ダウンロードした「VirtualBox-6.1.34a-150636-Win.exe」を実行し、VirtualBox6.1.34をインストールします。
特に理由がなければ、デフォルトのままインストールすれば良いと思います。
今回は、デフォルト設定のままインストールします。
2.インストールウィザードが表示されますので、「Next」をクリックします。
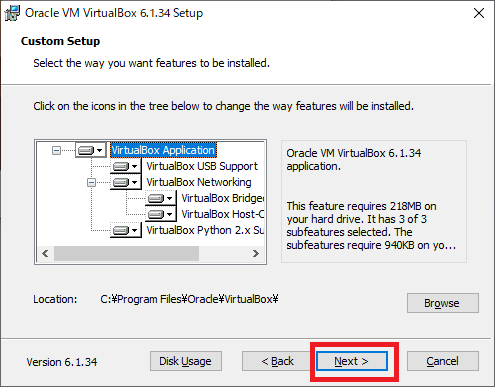
3.「Next」をクリックします。
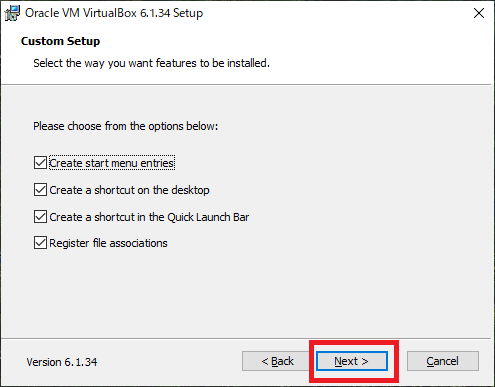
4.「Next」をクリックします。
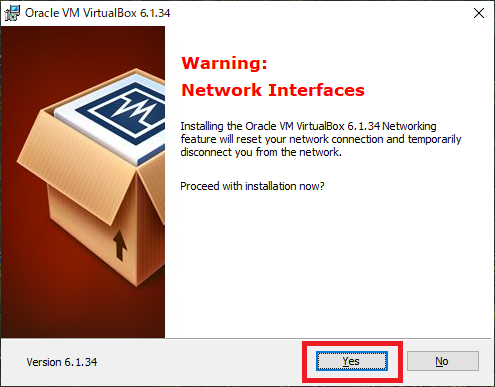
5.「Yes」をクリックします。
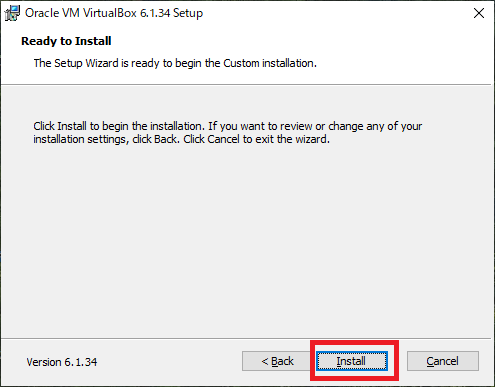
6.「Install」をクリックします。
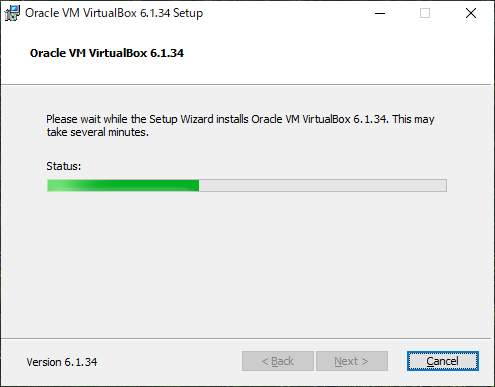
インストール中です。
しばらく待ちます。
7.「Finish」をクリックします。
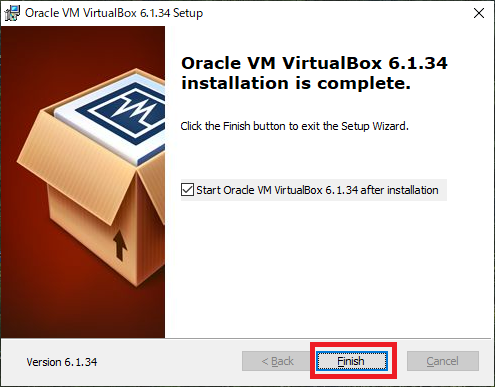
8.無事、VirtualBoxがインストールされ起動しました。
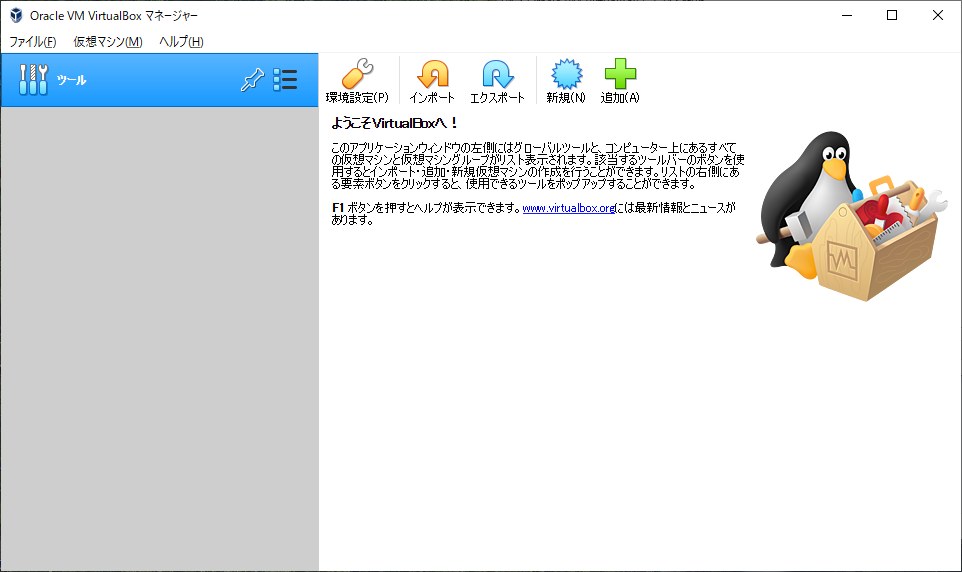
無事、VirtualBox6のインストールが終わったら、続いて拡張パッケージもインストールしましょう。
拡張パッケージをWindows10にインストール
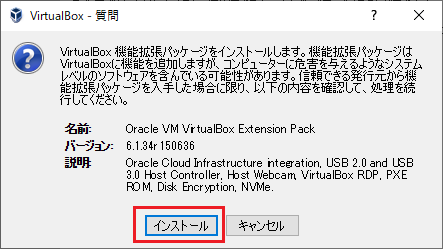
1.ダウンロードした拡張パッケージ「Oracle_VM_VirtualBox_Extension_Pack-6.1.34.vbox-extpack」を実行します。
2.「インストール」をクリックします。
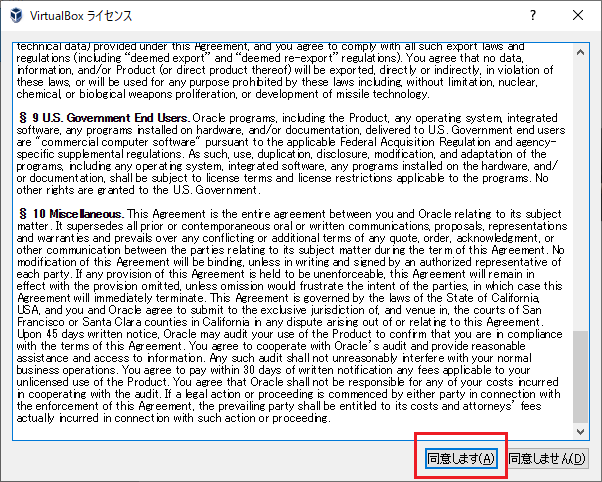
3.「同意します」をクリックします。
作業は以上です。
お疲れさまでした。
まとめ
Windows10にVirtualBox6.1.34をインストールすれば、Windows11やKali Linux等、異なるOSを仮想的に実行させ検証することが可能です。
スペックの良いPCであれば、各仮想OSに割り当てるメモリやディスク容量も増やせるので、検証環境には良いと思います。
ご参考になれば幸いです。

コメント